


As a web developer, sometimes we are the sole person assigned to a project, so it is important for us to know how to perform basic database tasks and follow DBA best practices. Below I will be explaining how to create a simple database and how to manually create a backup file that can later be used to restore the database.
Creating a SQL Server Database
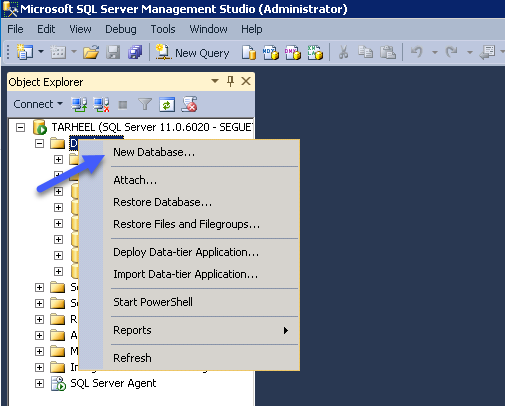
When creating a new database in SQL Server, open up Microsoft SQL Server Management Studio. Select the Databases folder and right-click. When the menu appears, select “New Database…”
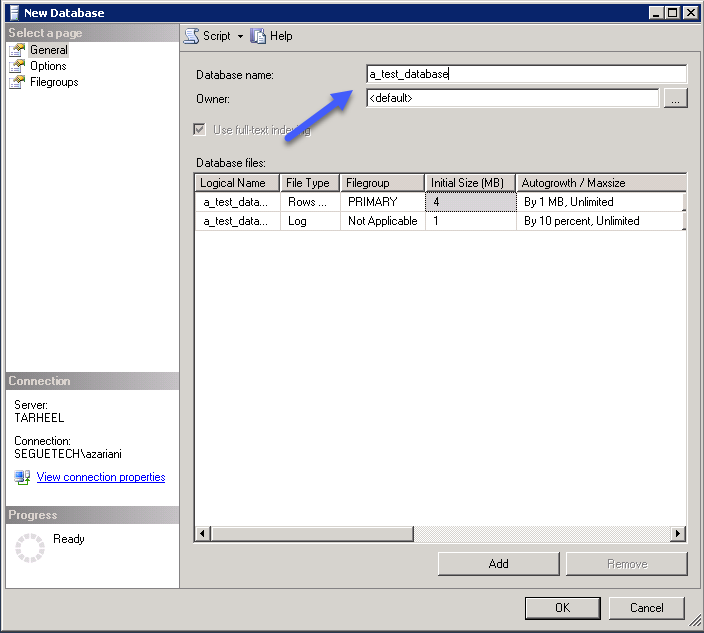
In the next window, enter the Database name, for this example I will name it “a_test_database”, and click OK.
The new database will be created and will be displayed under the Databases folder as shown below.
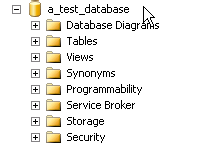
Once the database is created, you can browse the subfolders and create tables, views, stored procedures, etc.
To create a table, right-click on the Tables folder and select “New Table” and use the GUI, or you can script the table and run the SQL script as shown below. To use a script, click on the “New Query” button at the top menu and enter the script.
CREATE TABLE MY_USER_TABLE (

       USER_ID tinyint identity(1,1) primary key not null,

       FIRST_NAME varchar(20) NOT NULL,

       LAST_NAME varchar(20) NOT NULL,

       USER_STATUS varchar(10),

       CREATED_DATE datetime,

       UPDATED_DATE datetime,

       COMMENTS varchar(50)

)
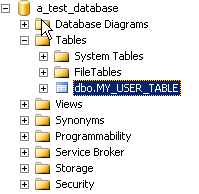
Once you enter the script, you can click the “Execute” button in the menu to run it. This will create a new table in the “a_test_database” database called “MY_USER_TABLE”. You can then refresh the Tables folder to view the new table.
Once the table is created, you can insert data into the table. To insert a record into the table, you can use the following script.
INSERT INTO MY_USER_TABLE (FIRST_NAME, LAST_NAME, USER_STATUS, CREATED_DATE, UPDATED_DATE, COMMENTS)

VALUES('John', 'Smith', 'Active','01/17/2017',NULL,'First User');
This will insert one record into the “my_user_table” table. To query the table and make sure the record was inserted successfully, you can execute the following query:
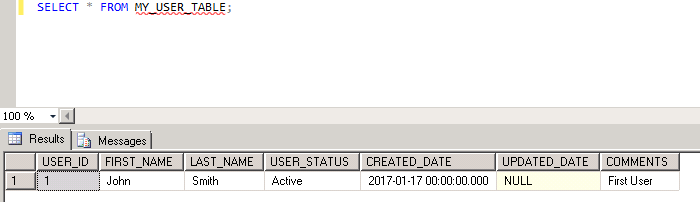
The contents of your table will be displayed, as shown above. Now that you have a new database with a table and some data, you can back up this database in case something happens and it is accidentally corrupted or data is lost.
Database Backup
In order to back up a database, right-click on the database you wish to back up and select “Tasks” and then “Back Up…” from the menu as shown below:

The following screen will appear. Since you are on the SQL Server database server, the backup destination should be automatically selected. You can either save the database using the default backup location and file name or “Remove” and “Add” the backup file name you wish to use.
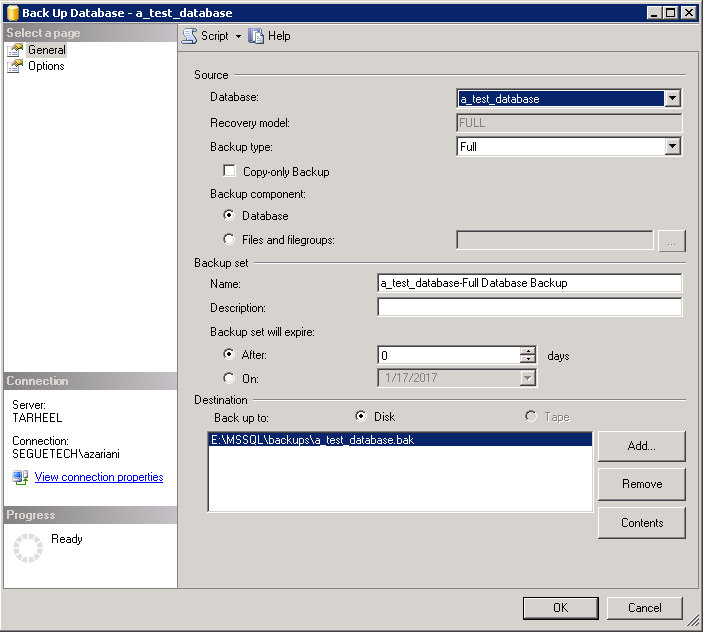
There are different backup types, but for this example, I will be doing a “Full” backup. If you are ok with the selected destination, click OK. The backup will start and will display a message when it’s completed. Once it’s completed, you can go to the path location and verify that the file in fact exists, as shown below:
![]()
Now you have a backup file that can be used to restore the database if necessary. The process above created a database backup manually, for maintaining a database, it is best to set up an automatic process that will back up the database on a desired schedule. I will be explaining the steps to set up a Maintenance Plan and Restoring a database in Part 2 of this blog.