Blogs
-
 July 13th, 2016
How Much Does a Mobile App Maintenance Contract Cost?
MoreAs a rule of thumb, you should expect to spend 10-20% of the total cost of development on a Mobile App Maintenance Contract.
-
 March 28th, 2016
Testing Mobile Apps for Functionality and Usability
MoreTesting mobile apps for functionality and usability can reveal the design flaws that cause the most application issues for users
-
 March 24th, 2016
Why Do I Need a Mobile App Maintenance Contract?
MoreA mobile application maintenance contract helps to ensure that your app works as intended and is kept up-to-date for users.
-
 February 29th, 2016
How Confluence’s Page Editor Can Improve Development Team Communication
MoreFind out how our developers here at Segue Technologies use Confluence’s Page Editor to improve team communication on projects.
-
 February 11th, 2016
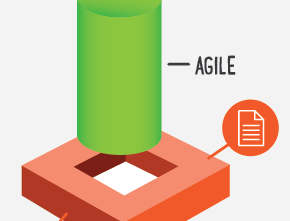
Applying Agile Methodologies in Non-Agile Contractual Scenarios
MoreWhile Agile Development has proven benefits, there are still scenarios/constraints that require adaptation or a hybrid approach to ensure project success.
-
 February 8th, 2016
Waterfall and Agile: An Infographic Comparison of Two Development Methodologies
MoreWaterfall and Agile are two different approaches to software development. This infographic highlights how the ideal traits of each align with common project needs.
-
 January 27th, 2016
Agile Today: The Four Agile Disciplines
MoreThe modern agile world as described by Kerievsky consists of four overlapping disciplines: Make Users Awesome, Make Safety a Prerequisite, Experiment & Learn Rapidly, and Deliver Value Continuously.
-
 January 7th, 2016
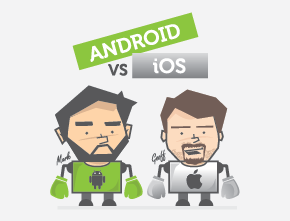
Which Platform Should I Develop for First, Android or iOS? P. 4
MoreIf you build your Android and iOS mobile application at the same time does it take the same amount of time and money? Is it easier? Find out here.
-
 December 24th, 2015
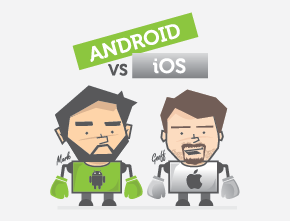
Which Platform Should I Develop for First, Android or iOS? P. 3
MoreWhich platform should you develop your mobile app for first? Our Lead Android and iOS Developers go head to head to discuss time and cost.
-
 December 23rd, 2015
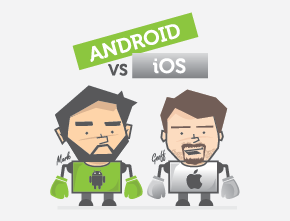
Which Platform Should You Develop for First, Android or iOS? P. 2
MoreWhich platform should you develop your mobile app for first? Our Lead Android and iOS Developers go head to head to discuss hardware and software.
-
 December 15th, 2015
Which Platform Should You Develop for First, Android or iOS? P. 1
MoreWhich platform should you develop your mobile app for first? Our Lead Android and iOS Developers go head to head to discuss market share.
-
 December 3rd, 2015
Should I Outsource My Application Development Project?
MoreWhen tasking your team with a new project, such as a custom mobile application or large enterprise system integration, make sure to consider outsourcing