For websites that display content by location, mapping these locations is a necessary component expected by web consumers. Not only do consumers expect clickable markers and info-windows, but visitors to your website are also beginning to expect driving directions, waypoints, traffic, and weather. Two of the most popular mapping providers are Google and Mapquest and both companies provide a Javascript mapping solution which can be embedded into a web application written in any language. Both providers depend on locations designated as geocode points – the latitude and longitude pairing (i.e. 38.890789, -77.086634). At Segue Technologies, we have implemented numerous mapping solutions for our clients – usually utilizing the Google Maps Javascript API.
In order to get started, previous versions of Google mapping required a developer to register and obtain an API key. This is no longer required in v3, but is still encouraged by Google in order to monitor the application’s API usage. Google will start charging for usage after 25,000 map loads per day (see usage limits).
A Tutorial for Adding Mapping Capabilities
In the .Net environment, the mapping functionality should be encapsulated into a .net control (.ascx), allowing its reuse across multiple pages if required. But for this example, we will manipulate the mapping code directly within an .html file and follow along with the code sample provided below. To start, add a
tag within your html body and set the id. In the header section:
- Add a style css to set the height and width
- Add a script to access the Google API code (API key optional)
- Add a script to initialize the map
Please note that the sensor parameter of the Google API URL must be included and indicates whether this application uses a sensor (such as a GPS locator) to determine the user’s location. The init_map function contains all the functionality we will be adding to the map. First, the mapOptions variable contains the map’s properties, centering on our provided geocode plus the zoom level and map type. The map type is set to the road map, but other options are available here and also include Satellite, Hybrid, and Terrain. The map variable is constructed as a Google map, by passing in the map options property and by binding the variable to our
element. The final step is to add a DOMListener event that waits until all the HTML elements on the page have been created and then calls the init_map function.
Adding Functionality
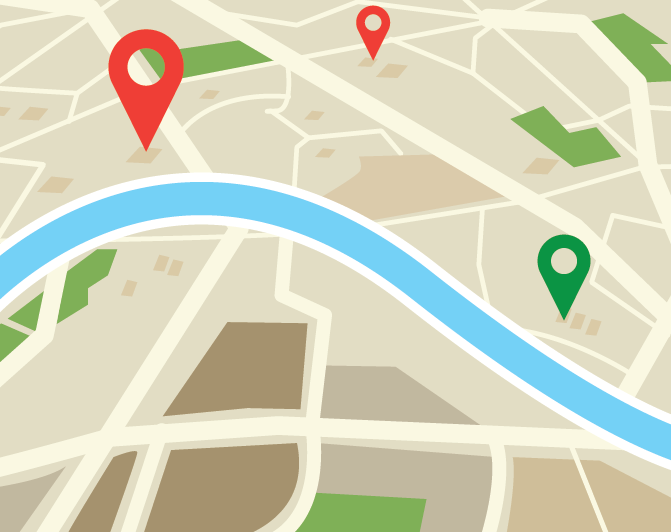
We now want to add actual functionality to the map such as markers and infoWindows. To add a marker, we declare a marker variable within our init_map function, using the map variable for the map property and setting the position property to the LatLng pointing to Segue’s Headquarters. At this point, we could add the standard Google marker icon, but that’s rather boring. Right? Instead, we will utilize a an icon from the Google maps mapfiles, and since Segue Technologies is located in the Navy League Building, we will use an anchor icon for our location (see the iconBase variable and icon and shadow properties). We can also add a tooltip by setting the title property in the Marker constructor.
The infoWindow is just as straightforward. First, we create a variable to hold the content that will be displayed above the marker when the icon is clicked. This variable will contain html code so it can be styled like any other webpage using CSS styles or specific html tags. Plus, you can add hyperlinks navigating to other websites or for sending email. Once the contentString variable has been populated with html, then call the InfoWindow constructor, setting the content property with the contentString variable. Finally, we add a Listener event to raise the onClick event when the marker icon is clicked.
That’s it! A basic map with marker and infoWindow functionality and a working sample is available here. In a future post, we will expand on this example and add driving directions capabilities and traffic and weather layers to our application.